

MLFlow on Kubernetes
Deploying the tracking server as a K8s deployment & exposing it internally with services.


Objectives of this article:
- Understand the basics of Kubernetes
- Deploy the MLFlow tracking server on Kubernetes.
To get the most out of this article:
- Read the previous article where we deployed the MLFlow tracking server via docker, set up an artifact store backed by google cloud storage and set up an SQL Alchemy compatible backend store to save MLFlow experiment metadata.
- Install a distribution of Kubernetes on your system. Minikube is an excellent option to quickly test things out locally. Get started with Minikube here.
- Know the basics of YAML. Here is an excellent article to learn YAML.
- Read the links in the Kubernetes subsections to get a better understanding of the related concepts.
NOTE: The setup described in this tutorial is for learning purposes and is not recommended for use in production environments.
Why Kubernetes?
One of the main takeaways from the previous article was that containerised applications are the future. A single container is a single running instance of our application.
But what if we want to scale our application ?
That's where Kubernetes comes in. Kubernetes is a container orchestration tool which is a technical way of saying that it manages the deployment and scaling of containers and makes sure that the app stays alive. This means that if for any reason the app fails, i.e. the container running the app crashes, Kubernetes will bring the app back online, ensuring availability.
Kubernetes also makes it easier to do complex tasks such as canary deployments in which the newer version of the app is made available to a small percentage of users. In comparison, the rest continue to use the older version, and when the new version is deemed stable, it is rolled out to all users. Kubernetes can do all of this easily and seamlessly.
Kubernetes Basics
Pod
"Pods are the smallest deployable units of computing that you can create and manage in Kubernetes. A Pod (as in a pod of whales or pea pod) is a group of one or more containers, with shared storage and network resources, and a specification for how to run the containers." - Kubernetes: Pods
A pod consists of one or more containers that make up the application. A single pod is still a single instance of the application.
Learn more about Pods here.
Deployment
A deployment is a mechanism of scaling pods in Kubernetes that defines a fixed number of "replicas" of a pod to ensure the application's availability. The deployment mechanism restarts the pod so that the number of replicas remains the same when one of the pods goes down.
Learn more about deployments here.
Service
"A service is an abstract way to expose an application running on a set of Pods as a network service. Kubernetes gives Pods their own IP addresses and a single DNS name for a set of Pods, and can load-balance across them." - Kubernetes: Service
We use the Kubernetes service object to expose our deployments and pods via a DNS name.
The DNS for a service in k8s follows the following format:
<service-name>.<namespace-where-it-is-deployed>.svc.cluster.local
Learn more about services here.
ConfigMaps
"A ConfigMap allows you to decouple environment-specific configuration from your container images so that your applications are easily portable." - Kubernetes: ConfigMap
We will save any environment variables that we need to configure the tracking server by using a ConfigMap.
Learn more about configmaps here.
Secrets
"Secrets are similar to ConfigMaps but are specifically intended to hold confidential data." - Kubernetes: Secrets
We create secrets the same way we create configmaps, with the difference being that secrets are encoded with base64 and are not stored in plain text. As their name suggests, they are used to store things that should be kept secret.
Learn more about secrets here.
Here is a great crash course to learn the basics of Kubernetes Crash:
Outline for deployment
To deploy the tracking server, we need to do the following:
- Create a docker image for the MLFlow tracking server.
- Deploy Postgresql database on Kubernetes.
- Create YAML configurations for deployment, service and configmap to deploy the tracking server to Kubernetes.
Dockerising MLFlow
The first step in porting the MLFlow tracking server to Kubernetes is to dockerise it (yes, that's a word I made up 🤣). The following gist is the Dockerfile to create a docker image for MLFlow.
Note: I am borrowing a lot from the previous article so if you find something confusing or new, feel free to read that and return.
A google cloud credentials file is required to enable authentication within the container. I am reusing the one I created in the previous tutorial here.
You can either build this image by yourself or download it from dockerhub.
To download the image, run: docker pull aahansingh/applied-mlops:mlflow-tracking-server-gcloud.
Next, let's test to see if our MLFlow docker container works.
Deploy the PostgreSQL database (complete instructions can be found here):
docker run --name mlflow-database \
  -v /home/username/mlflow-db/:/bitnami/postgresql \
  -e POSTGRESQL_USERNAME=admin \
  -e POSTGRESQL_PASSWORD=password \
  -e POSTGRESQL_DATABASE=mlflow-tracking-server-db \
  --expose 5432 \
  -p 5432:5432 \
  bitnami/postgresql
Deploy the MLFlow tracking server using the following command. Make sure that the credentials file is named gcloud-credentials.json :
docker run \
-v <PATH TO THE DIR CONTAINING THE CREDENTIALS FILE>:/workdir/gcloud-credentials/ \
-e ARTIFACT_STORE=<YOUR GCLOUD BUCKET PATH> \
--name mlflow \
-p 5000:5000 \
--link mlflow-database \
mlflow:latest
The tracking server dashboard should now be available at localhost:5000.
Deploying PostgreSQL on Kubernetes
Helm
A super-easy way to deploy applications on Kubernetes is to use Helm charts. Kubernetes is all about Yaml. Everything in K8s is defined in YAML files. As you can imagine, the YAML configurations that make up the application's deployment (here, I'm referring to deploying the application in general and not the deployment object in Kubernetes) in Kubernetes can grow in number can become challenging to manage.
That's where Helm comes in. Helm is a package manager for Kubernetes. It enables templating of YAML files that make up the application and makes it easy to deploy the application to the cluster.
Here is a great tutorial to learn about Helm:
Here we will use Helm to deploy PostgreSQL to the cluster. But rather than using the Helm command-line tool, we will use a GUI tool called Kubeapps to "install" PostgreSQL.
Deploying PostgreSQL
Now let's get to deploying PostgreSQL:
Installing Helm: To install Helm follow the instructions here.
Deploy Kubeapps. Run the commands the following commands to install Kubeapps (you can also find the complete guide here):
# Install Kubeapps via Helm
helm repo add bitnami https://charts.bitnami.com/bitnami
kubectl create namespace kubeapps
helm install kubeapps --namespace kubeapps bitnami/kubeapps

# Port Forward Kubeapps to localhost:8080
kubectl port-forward --namespace kubeapps service/kubeapps 8080:80

# Create a service account to access Kubeapps
kubectl create --namespace default serviceaccount kubeapps-operator
kubectl create clusterrolebinding kubeapps-operator --clusterrole=cluster-admin --serviceaccount=default:kubeapps-operator

# Get the access token
kubectl get --namespace default secret $(kubectl get --namespace default serviceaccount kubeapps-operator -o jsonpath='{range .secrets[*]}{.name}{"\n"}{end}' | grep kubeapps-operator-token) -o jsonpath='{.data.token}' -o go-template='{{.data.token | base64decode}}' && echo
To access Kubeapps, go to localhost:8080, paste the token generated above on the login page, and the dashboard should now open.
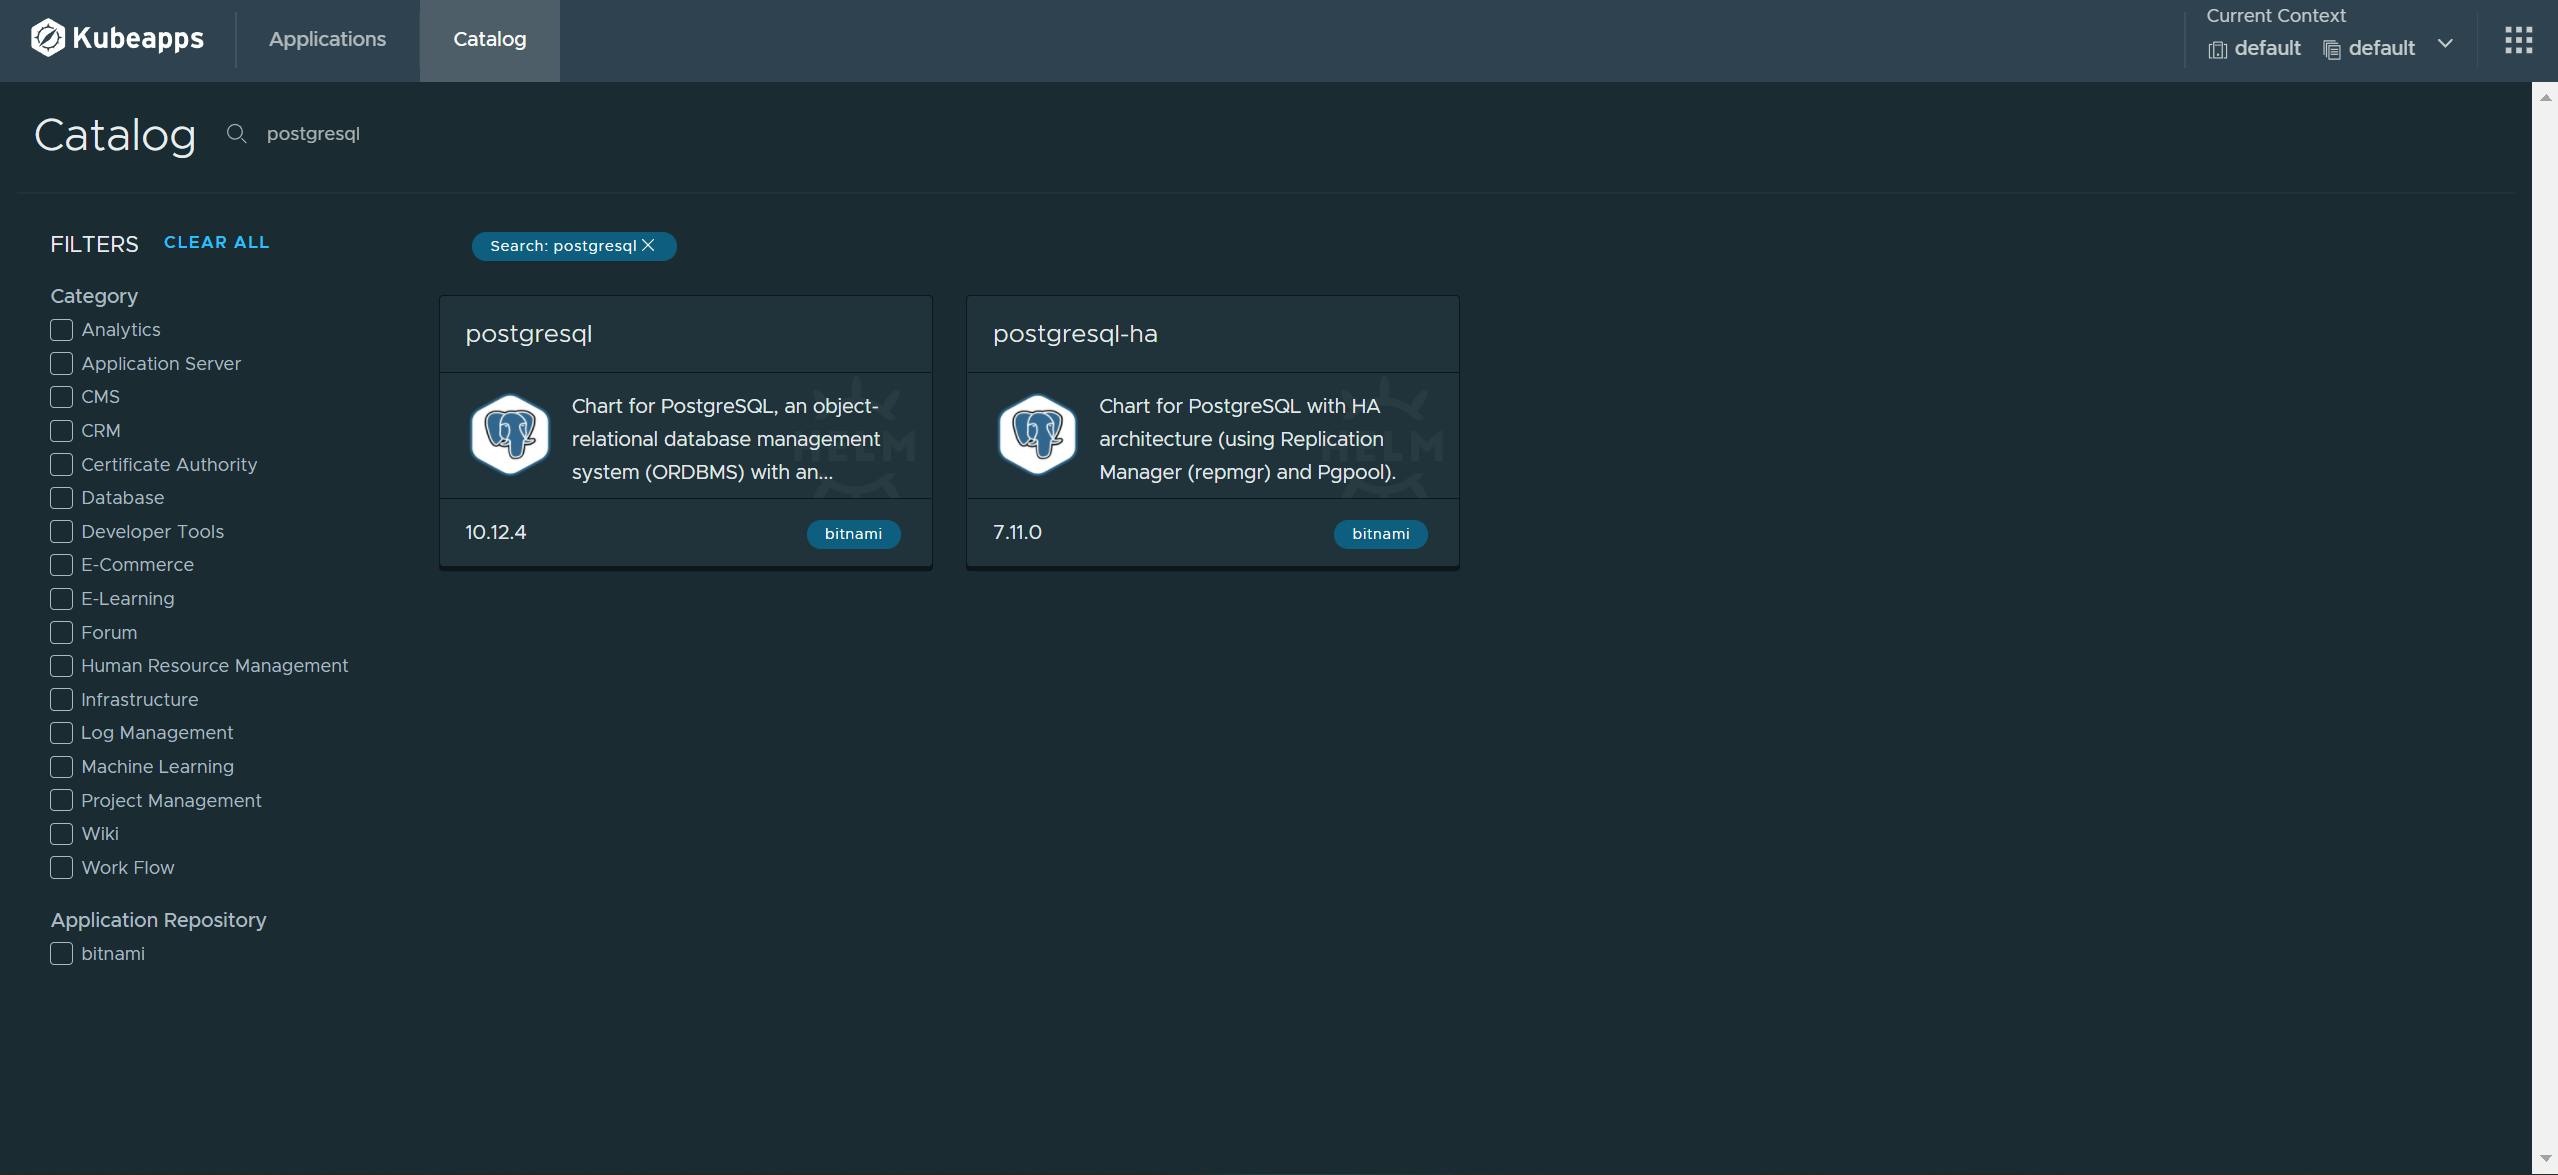
Search for PostgreSQL under the catalog.
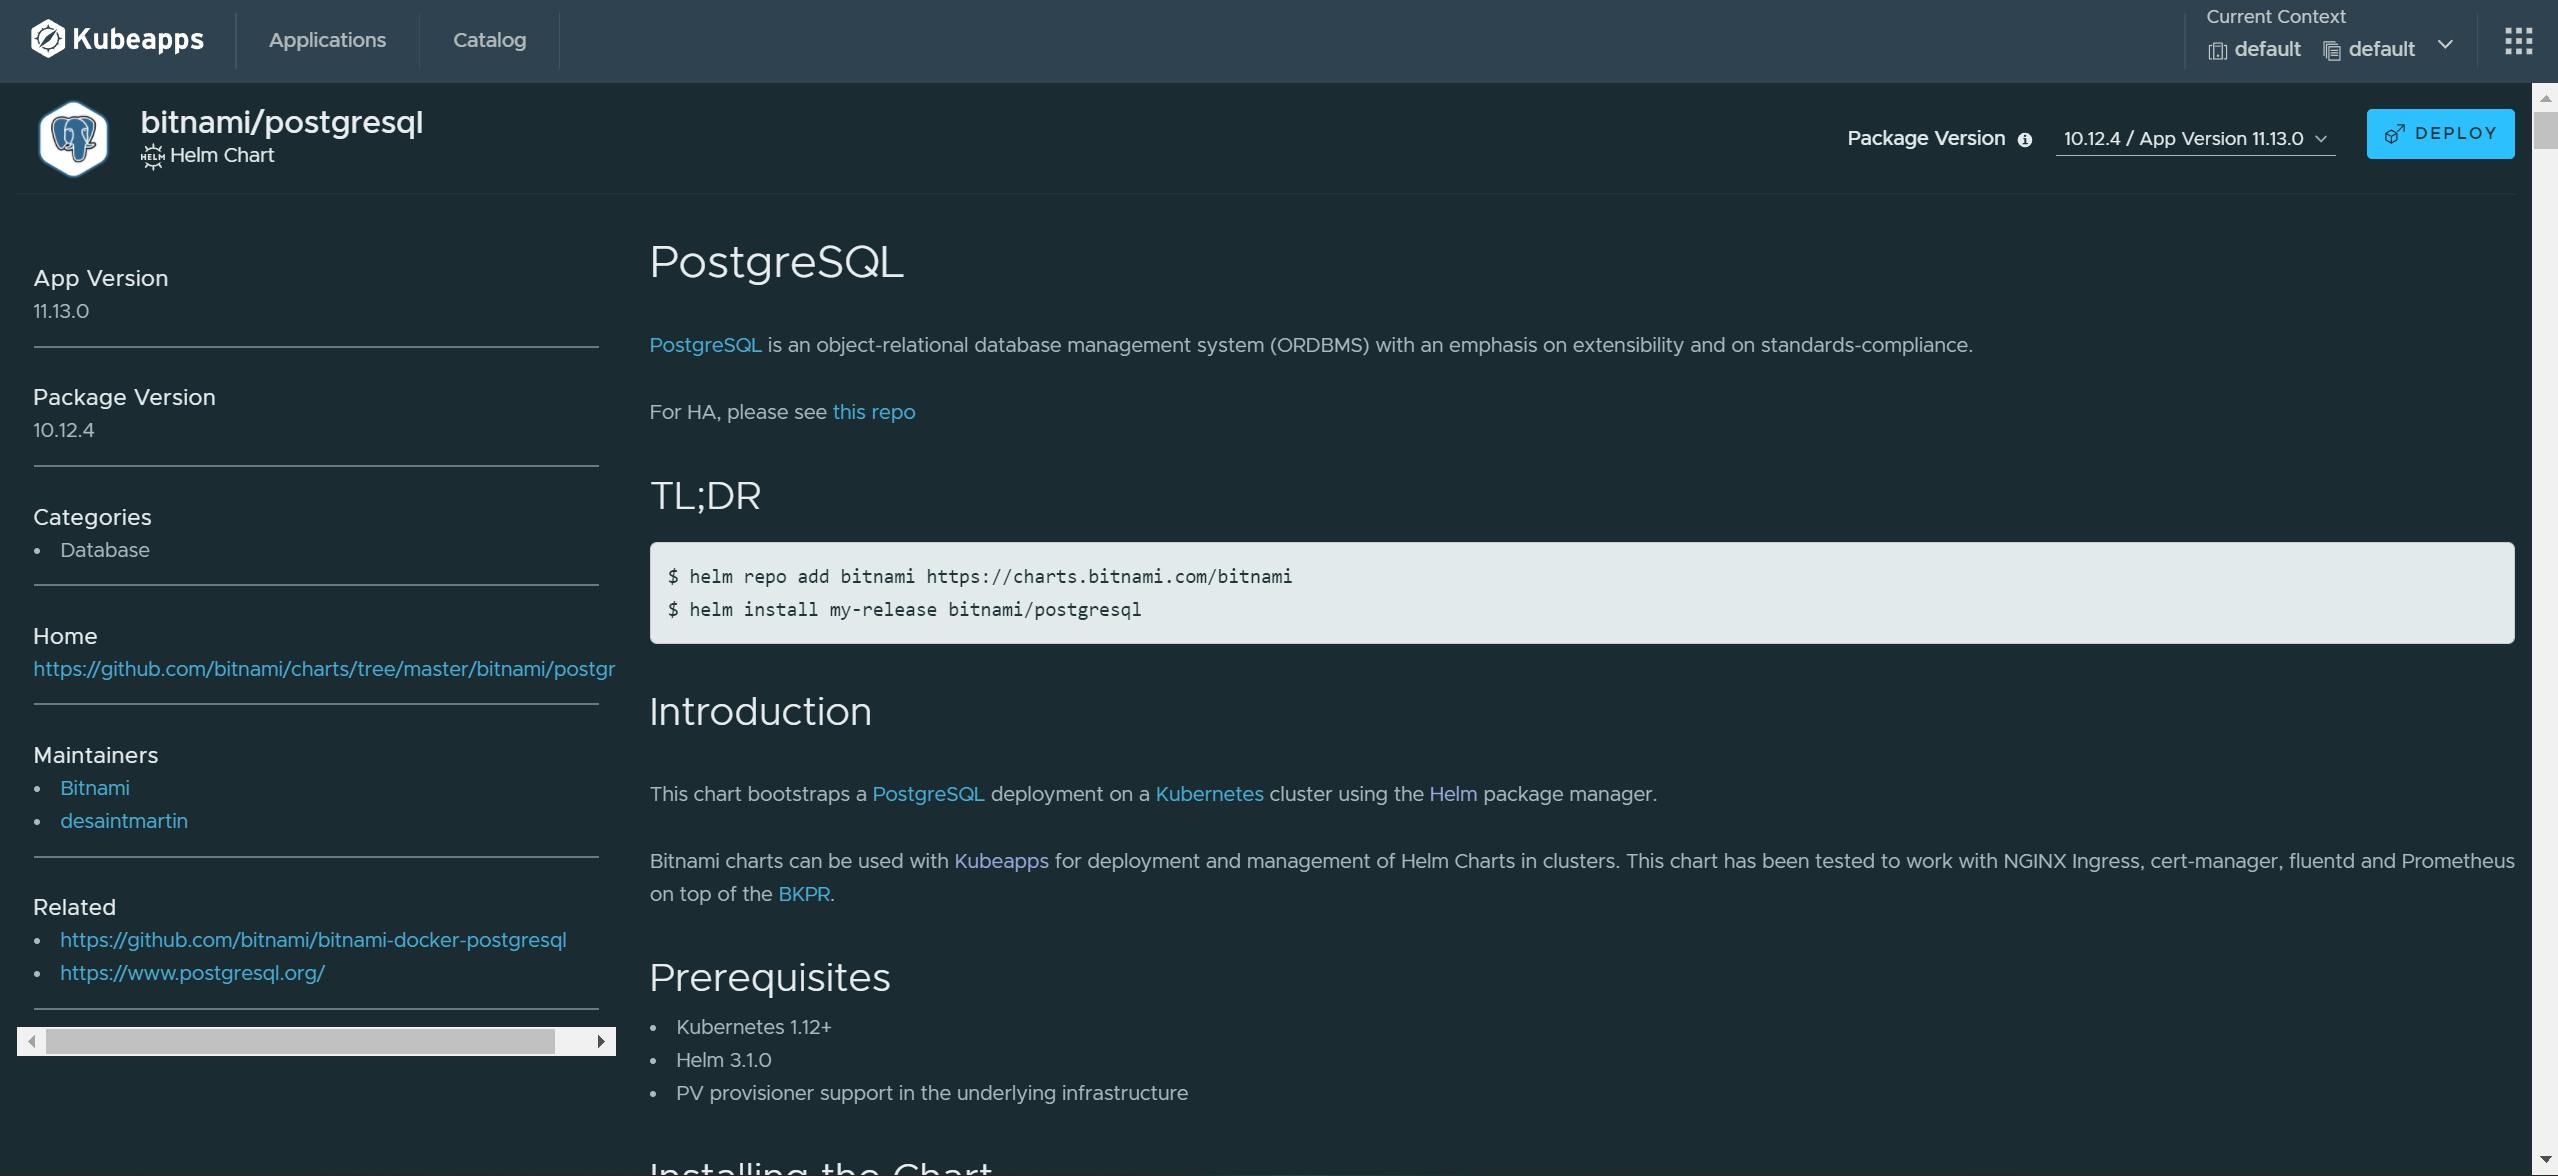
Click deploy.
Edit the database configuration.
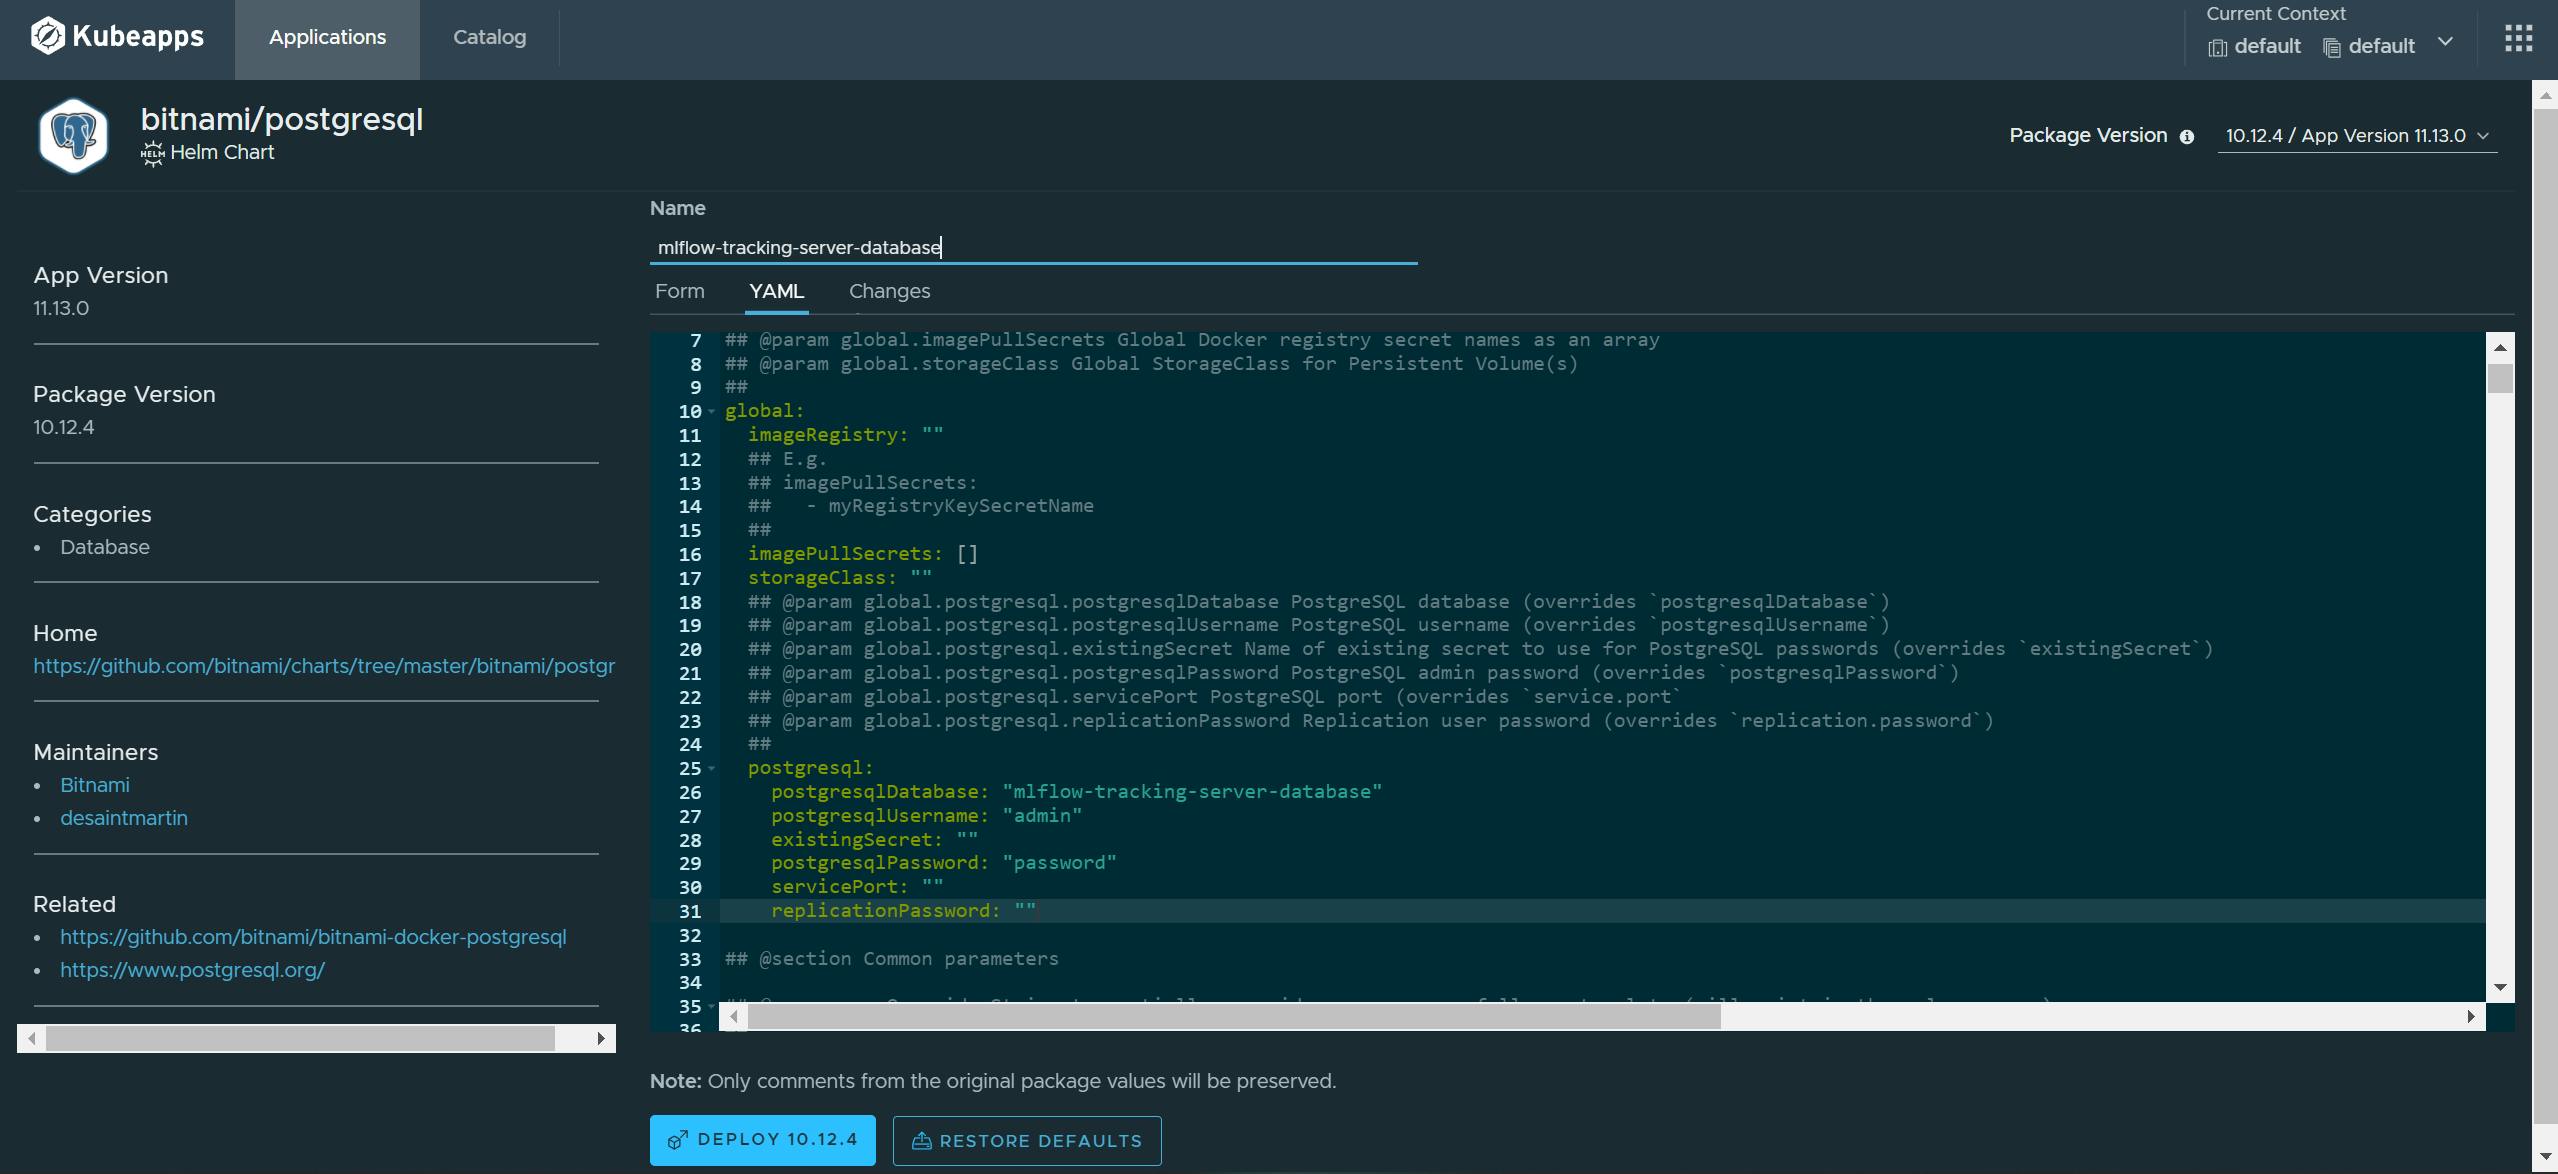 Change the following entries in the yaml file under
 global.postgresql:postgresqlDatabase: "mlflow-tracking-server-database" postgresqlUsername: "admin" postgresqlPassword: "password"Click on deploy, and Kubeapps should take care of the rest.
PostgreSQL should now be deployed on the cluster. Have a look at the Installation Notes section of the deployment for information on accessing the database, including its DNS name. If you have followed the steps above to the tee, the DNS of the database should be mlflow-tracking-server-database-postgresql.default.svc.cluster.local.
Configuring MLFlow for deployment
Now that we have a docker image ready and it works locally, it's time to port it to work on Kubernetes.
The first thing we need to do is create the configmap and secrets for the tracking server.
Creating the secret configuration
To create the secret file run the following command:
kubectl secret generic mlflow-gcloud-credentials \
--from-file <PATH TO gcloud-credentials.json> \
--dry-run=client \
-o yaml > secret.yaml
This will save a YAML file by the name secret.yaml and contain the base64 encoded string of the contents of the credentials JSON file under its data field.
Just as we did when testing the docker image, we will mount this secret as a volume in our pod.
Creating the configmap configuration
We will use a configmap to store the database configuration variables.
Save the configmap above in a YAML file.
Creating the deployment configuration
Do give the YAML above a good read. The essential parts are using the variables saved in the configmap (lines 25-50) and mounting the secret as a volume(lines 51-59) in the pods. If you don't understand the structure of the YAML, fear not; read the section on deployment and the official documentation to understand what's going on. Go ahead and save this as a YAML file too.
Creating the service configuration file
Now that we have created the configuration of the tracking server app itself, we need to expose it so that we can access it via a DNS name. This is done by creating a service for the tracking server deployment.
This makes the mlflow-tracking-server-pods available through the service called mlflow-tracking-server on port 5000. So now, internally within the cluster, the tracking server is live at the DNS mlflow-tracking-server.default.svc.cluster.local on port 5000.
Time to deploy it all
Now that we have created the YAML files, we need to deploy them to the cluster. We can do this via the kubectl command-line tool.
To deploy the files run: kubectl apply -f <path-to-yaml-file>. The order in which you deploy the YAML files doesn't matter as long as there isn't any error. To check the status of the deployment use, kubectl get all. This will list all pods, deployments, and services that are currently deployed on the cluster. If you do get an error, let me know in the comments below or reach out to me on social media, and I'll help out.
Once everything is successful, make the tracking server accessible on localhost by running: kubectl port-forward --namespace default service/mlflow-tracking-server 5000:5000. The tracking server should be available on localhost:5000. Just make sure you don't have anything else running on port 5000 locally.
That's it. You should now be able to use the MLFlow tracking server on your Kubernetes cluster.

Hey 🙋♂️, I anticipate that you may run into issues and errors while trying out this tutorial. Feel free to leave comments about any problems you're facing, and I will address them all. You can also contact me on any social media, and I will try to help you out 😁.
If you enjoyed reading this article or helped you in any way, a 👏 is appreciated. Do share this article with others who may be interested in the topic too.
Stay in touch with me on Linkedin and Twitter for regular updates. Follow me on GitHub.